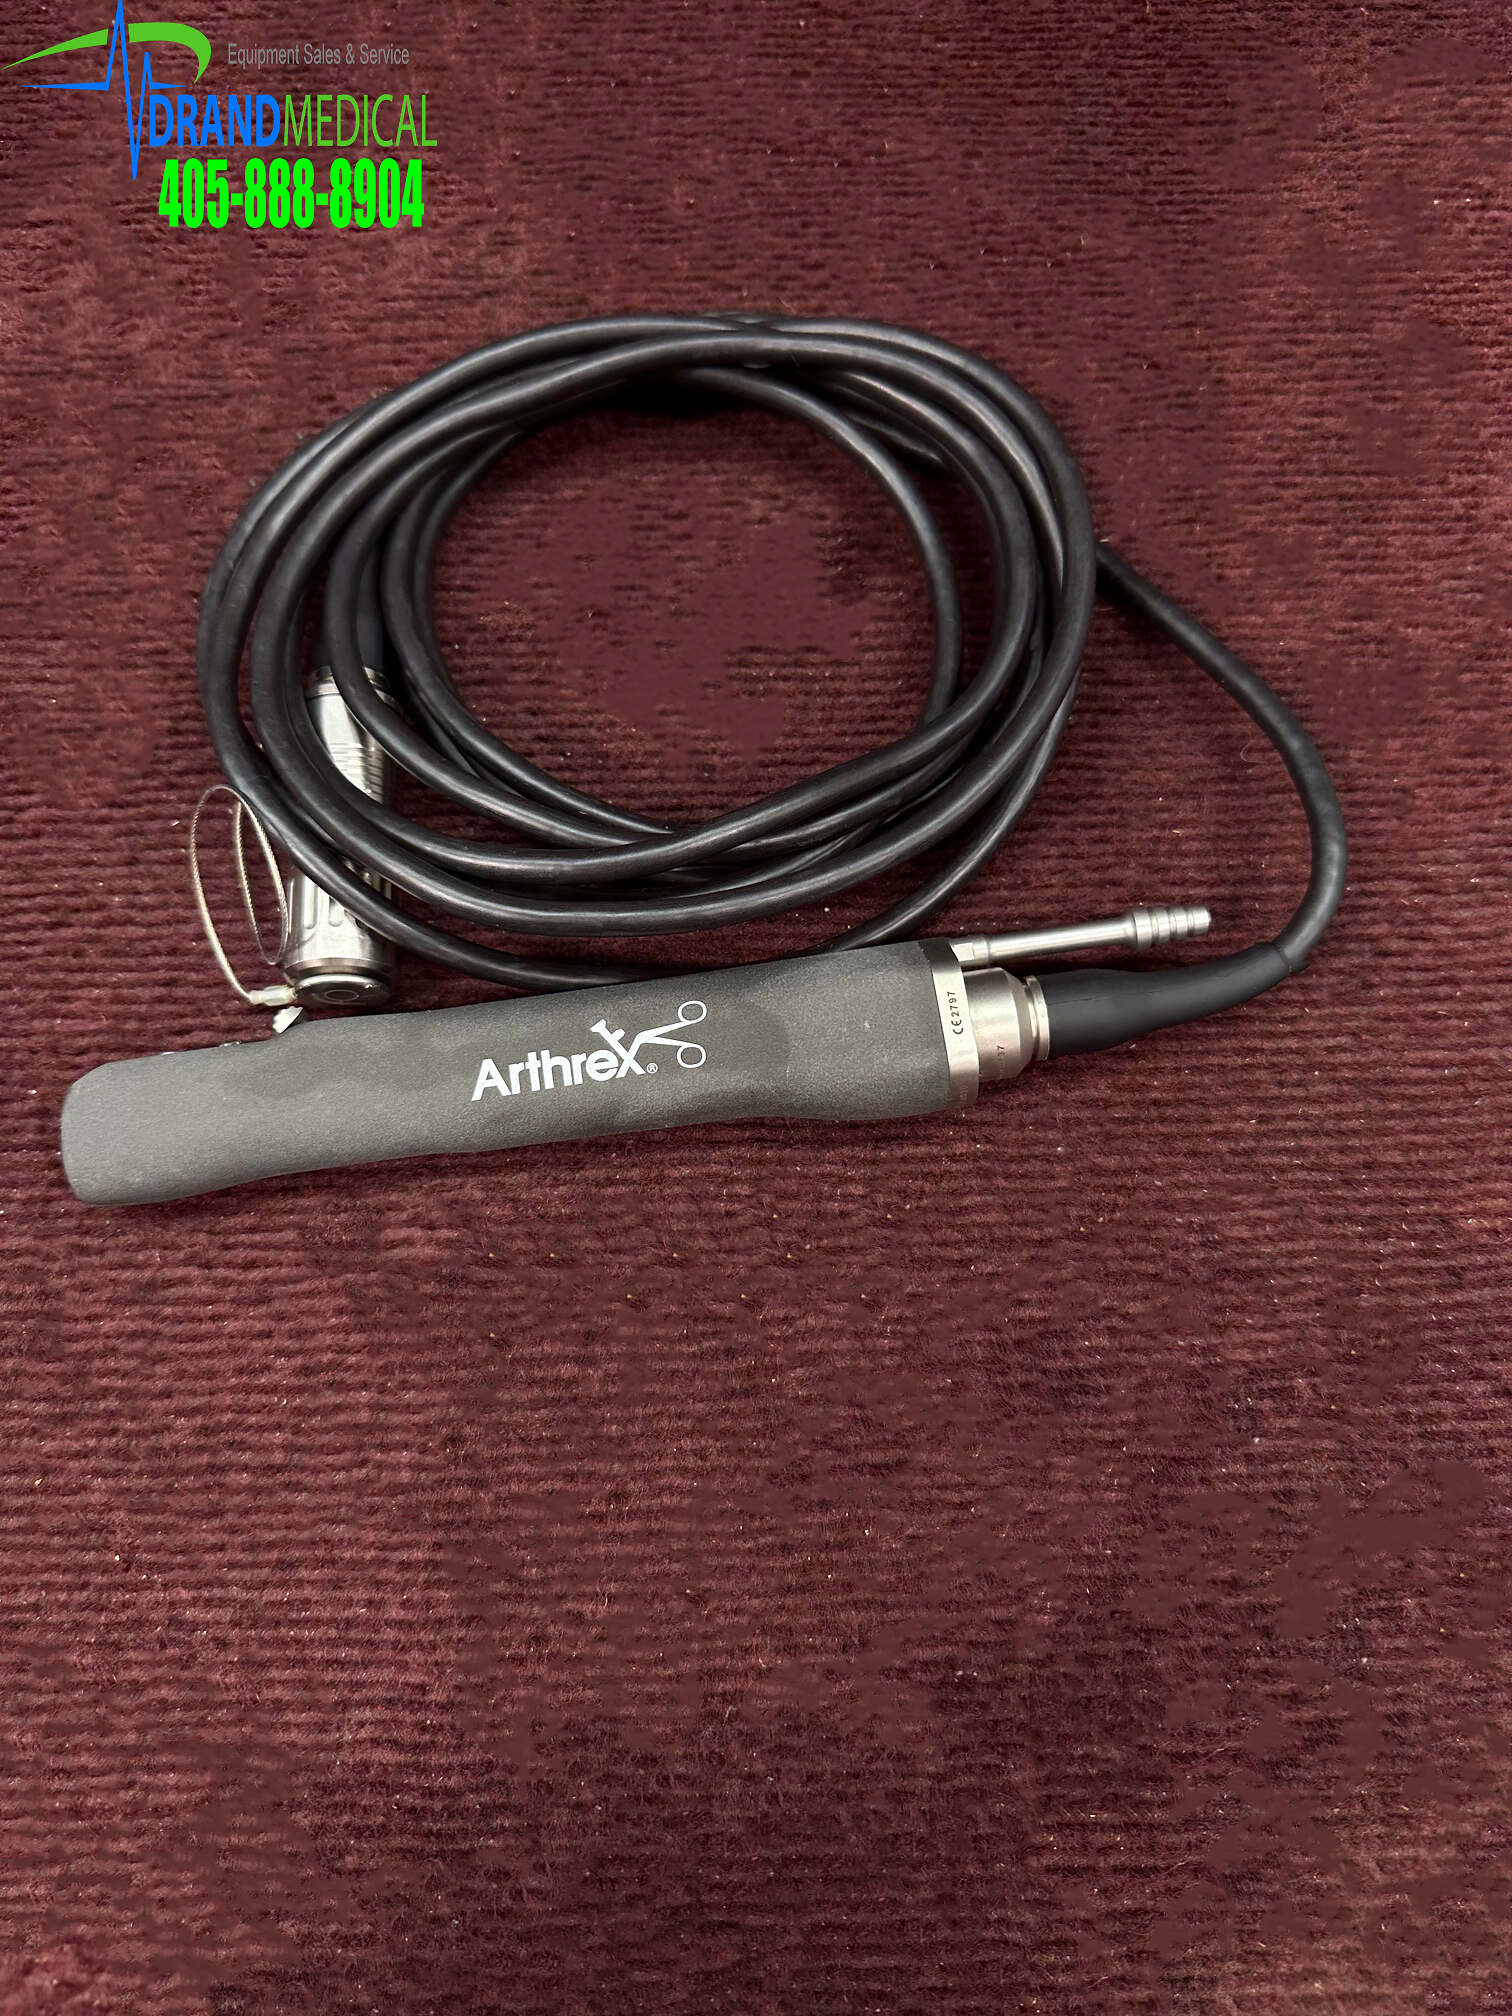
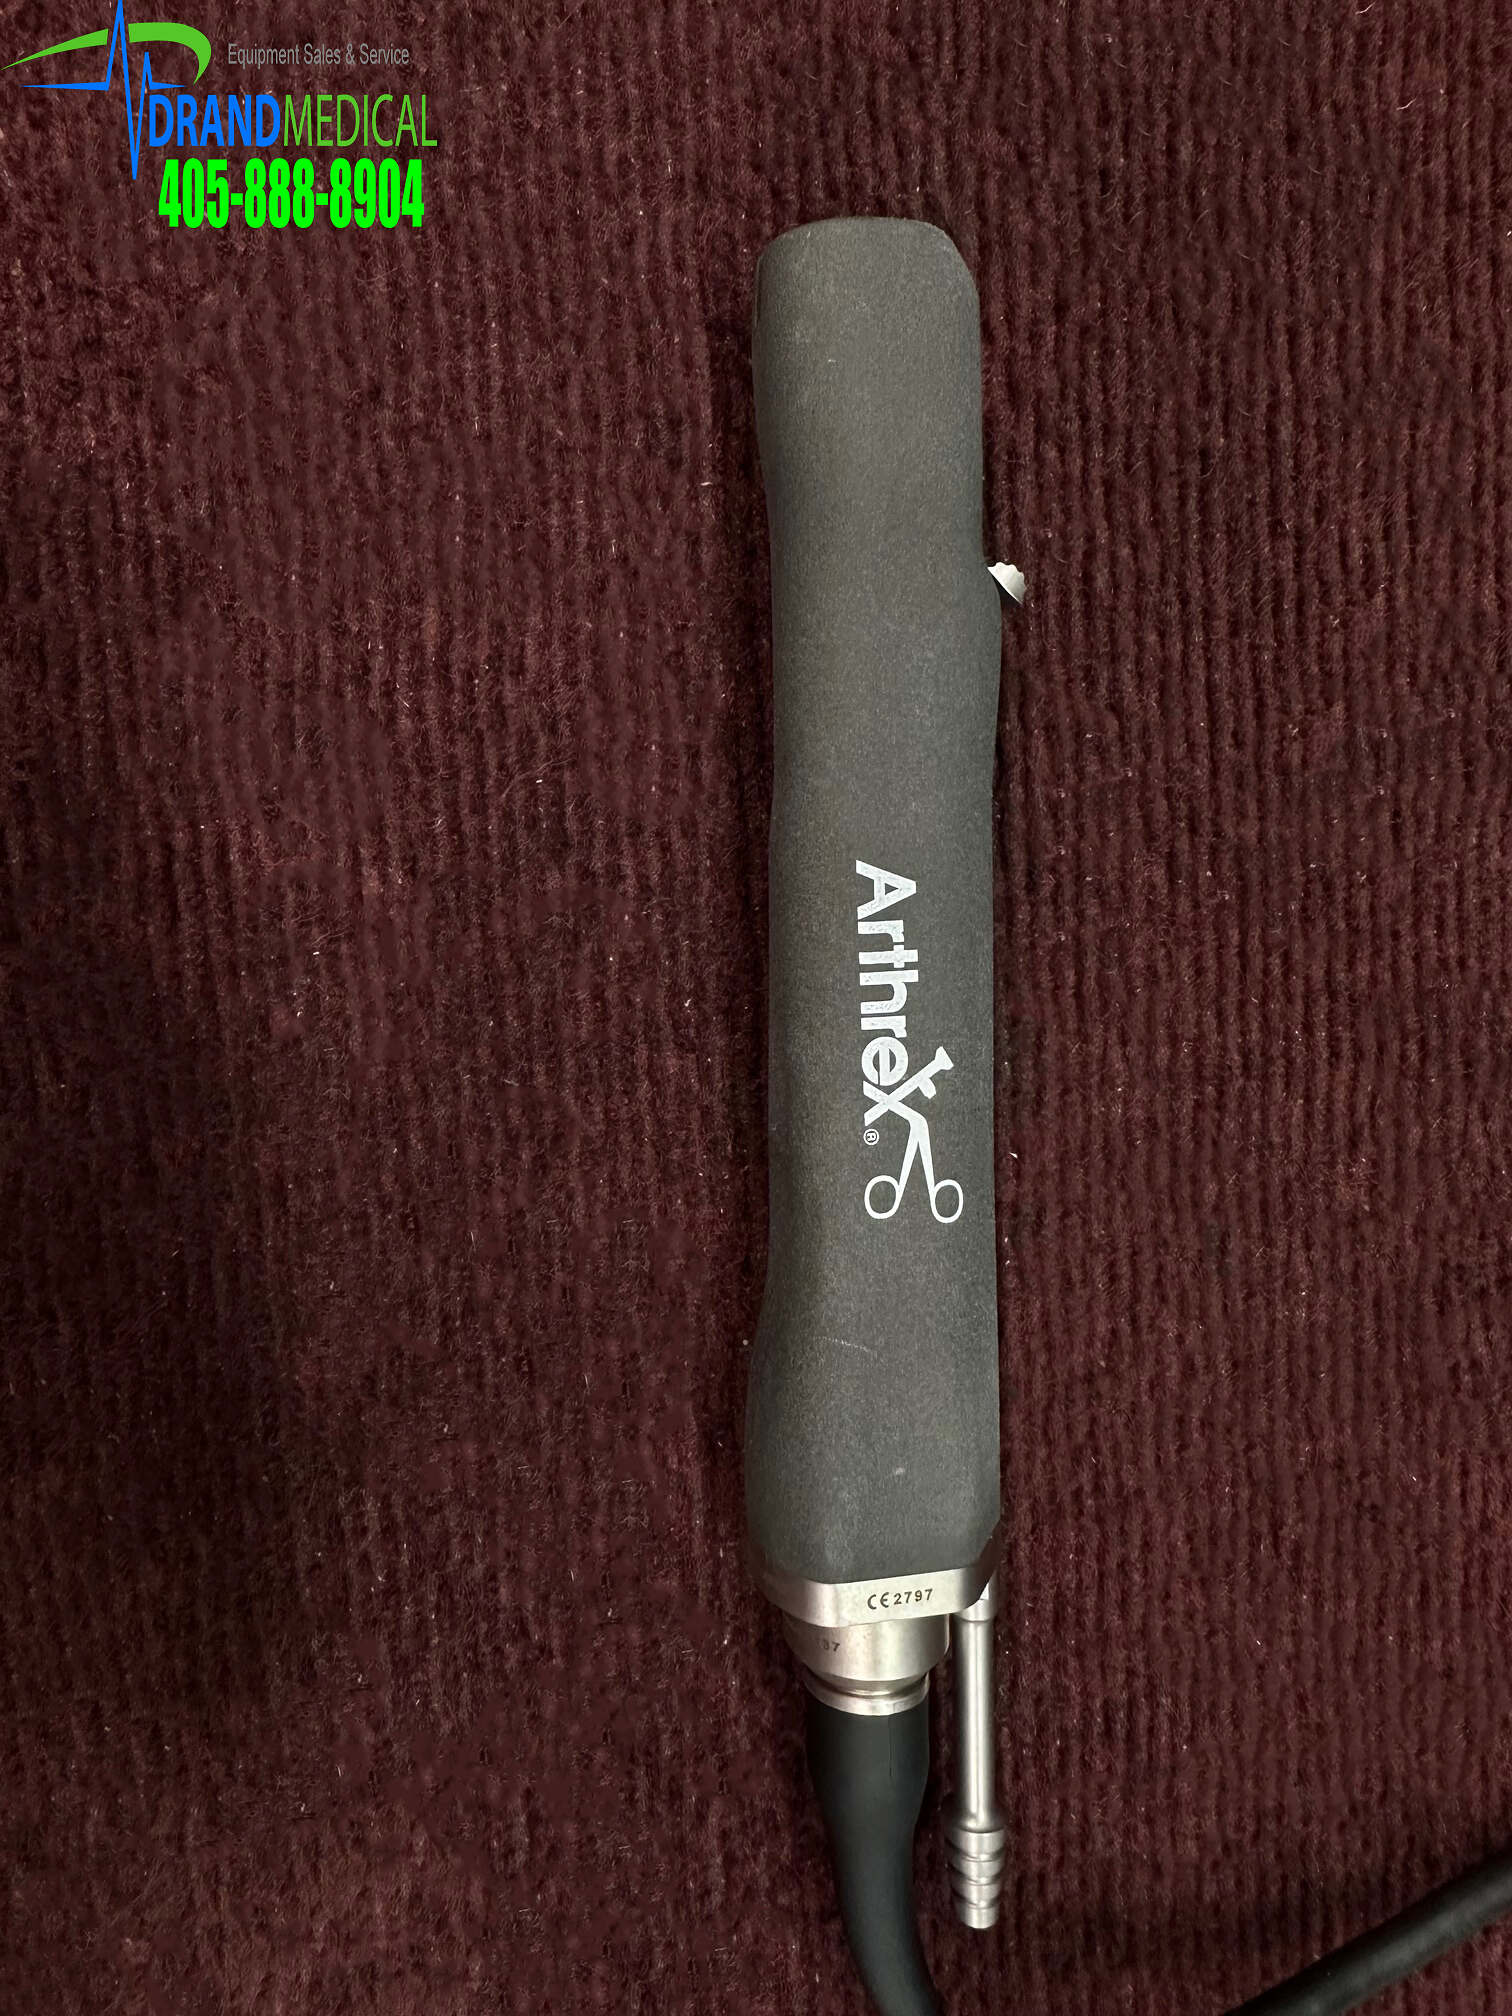
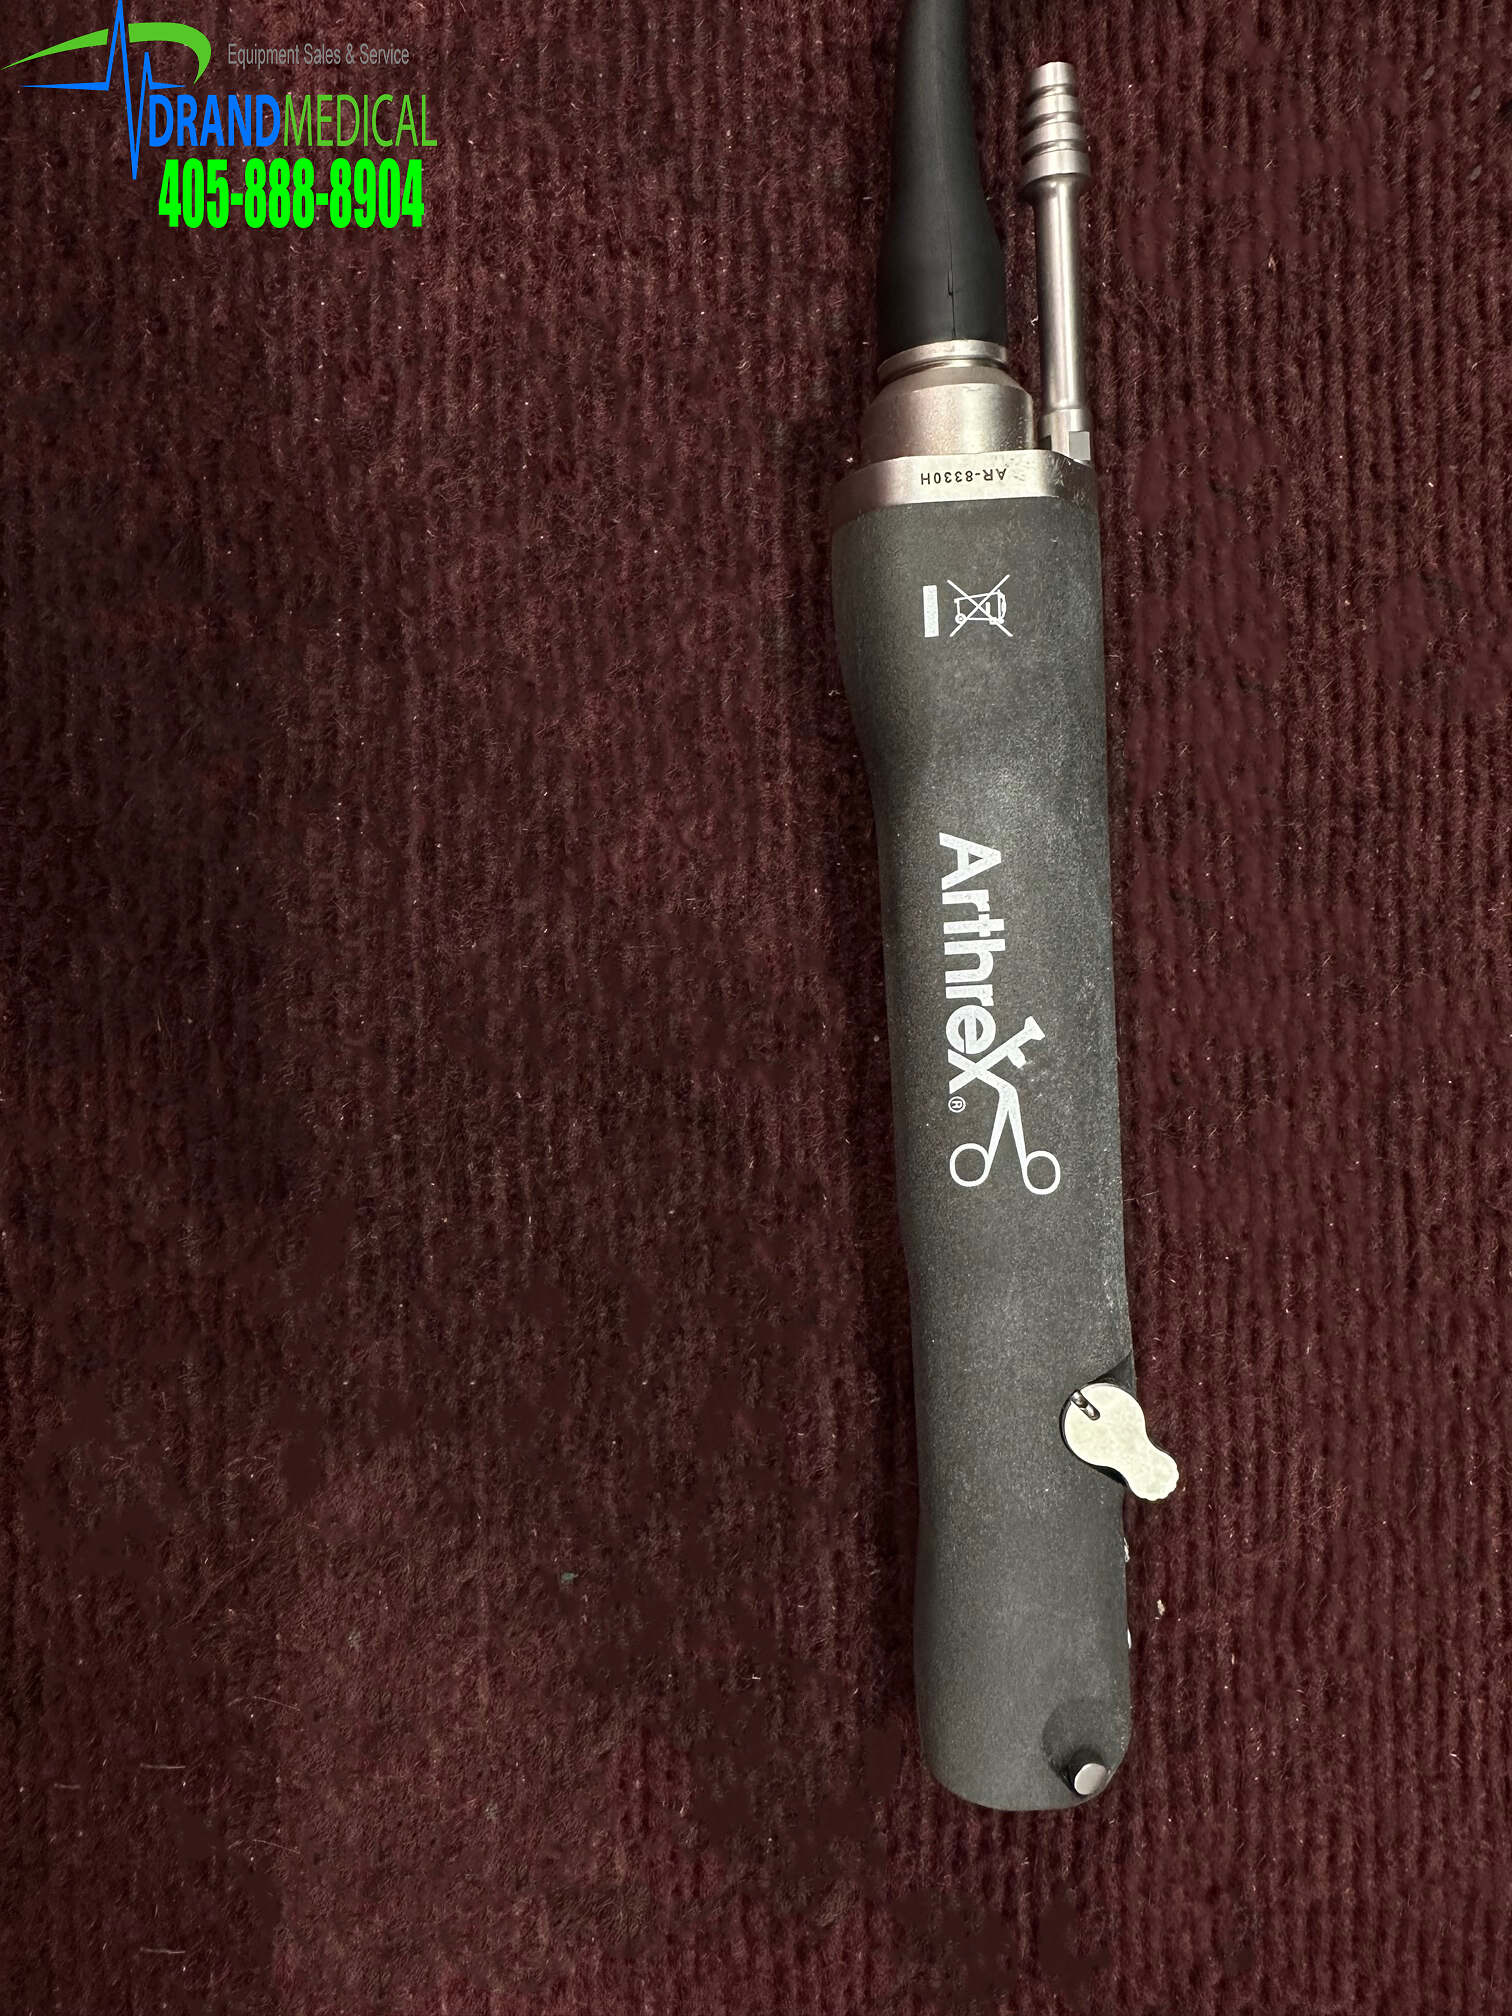
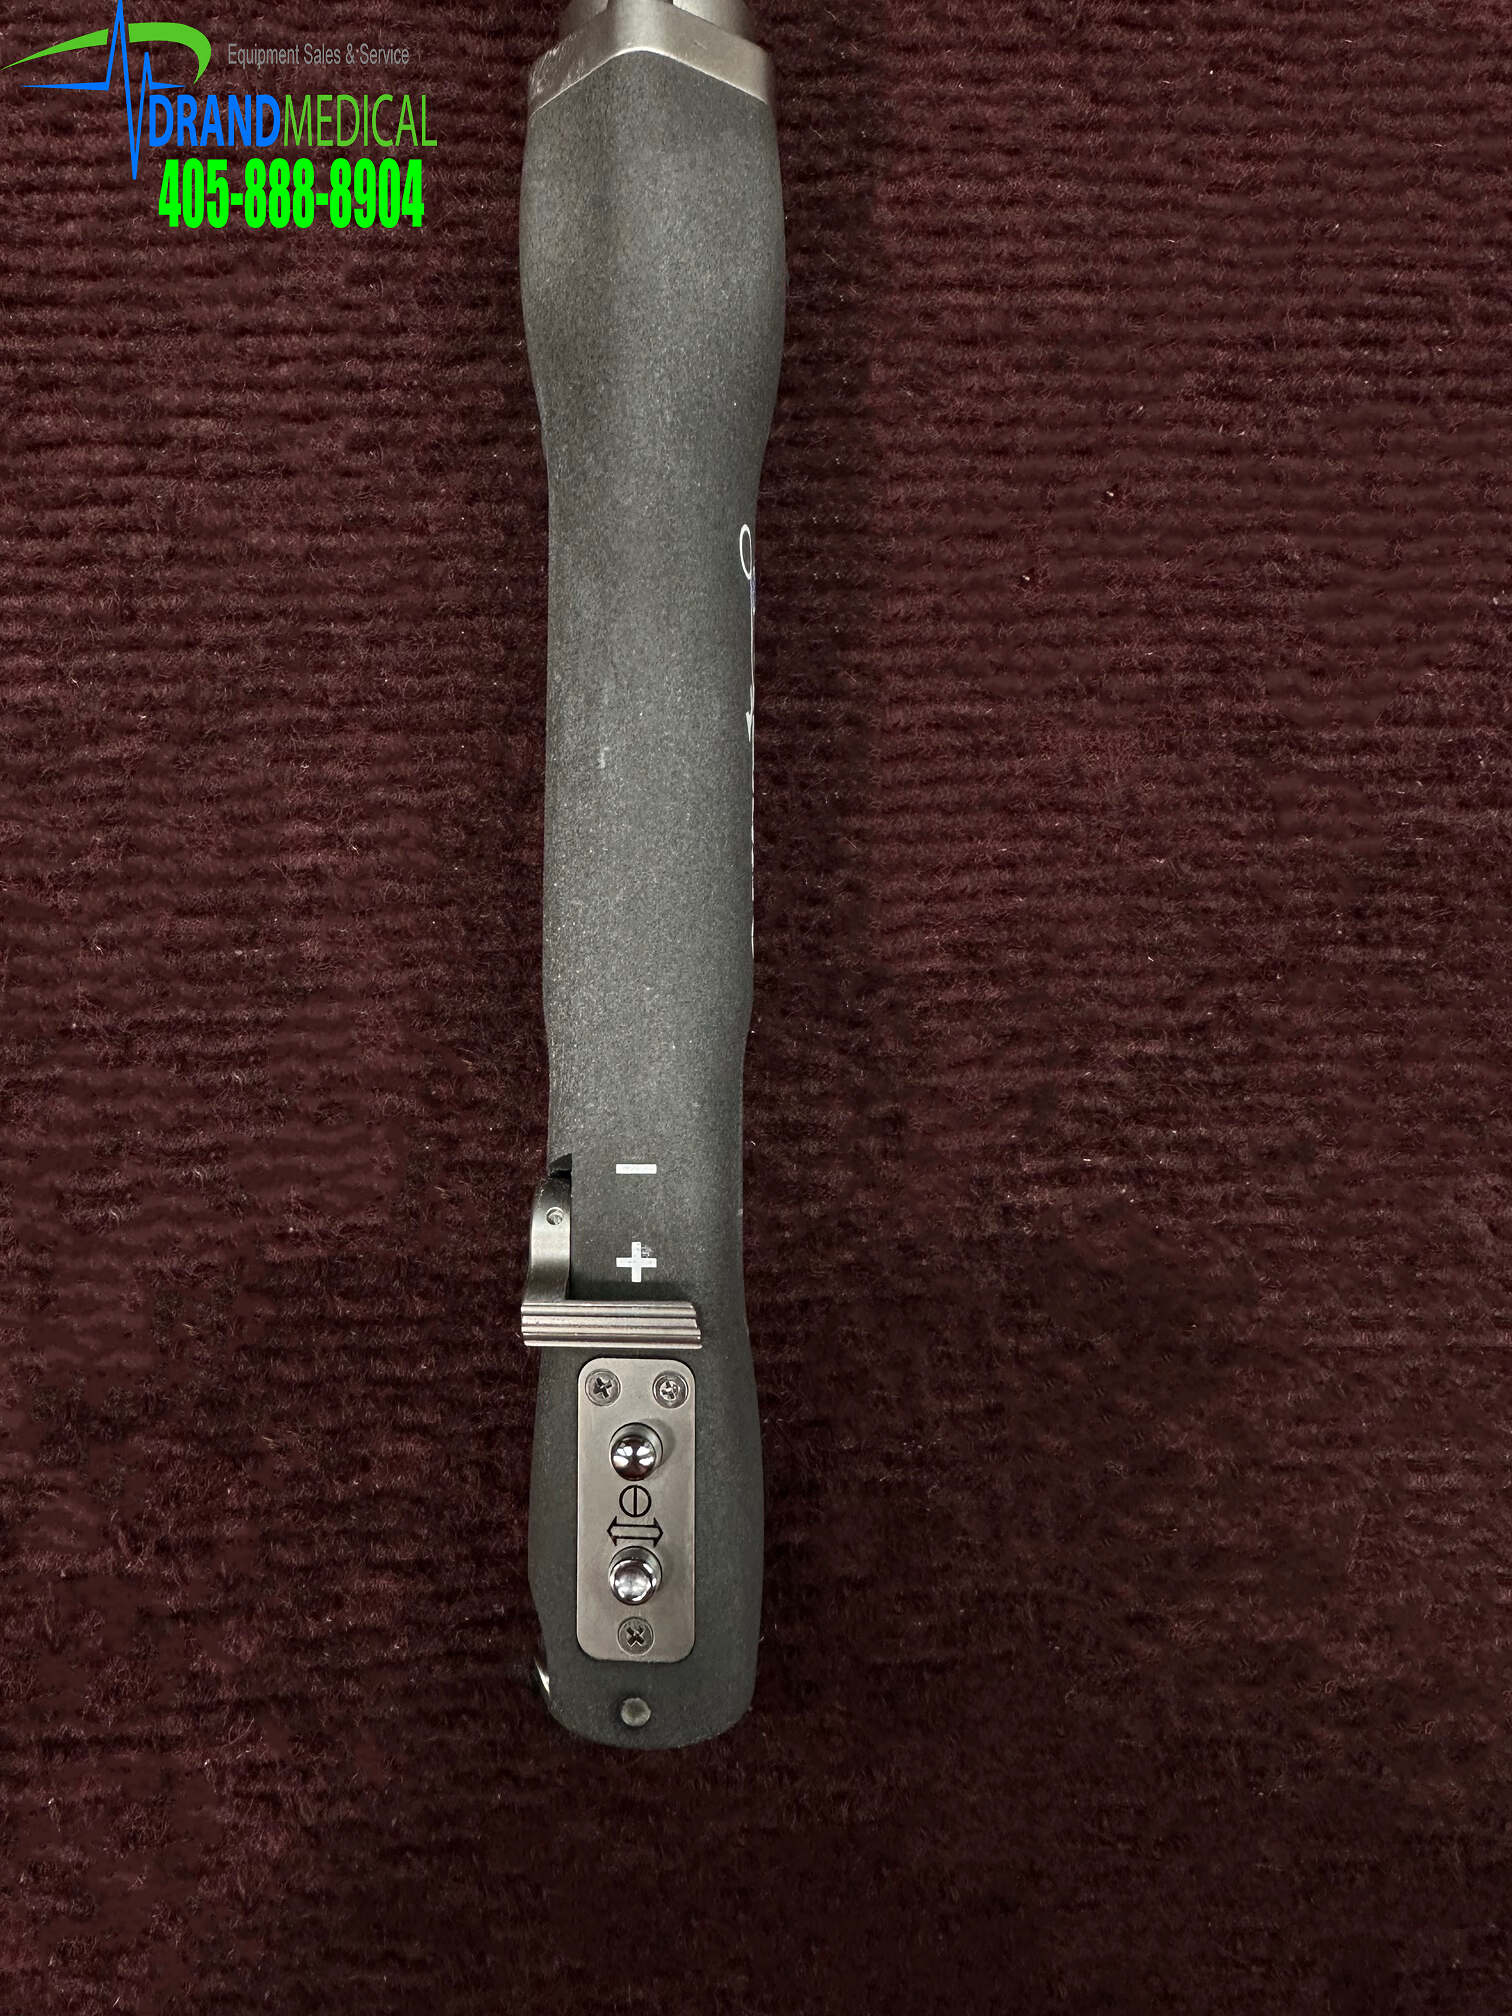
Description
A. REFERENCE
These instructions were developed using the guidance given in the following standards (ANSI: American National Standards Institute; AAMI: Association for the Advancement of Medical Instrumentation; ST: Standard; TIR: Technical Information report; ISO: International Organization for Standardization; FDA: Food and Drug Administration):
• ANSI/AAMI ST79: Comprehensive guide to steam sterilization and sterility assurance in healthcare facilities
• ISO 17664-1: Processing of health care products – Information to be provided by the medical device manufacturer for the processing of medical devices – Part 1: Critical and semi-critical medical devices
• ISO 17665-1: Sterilization of health care products – Moist heat – Part 1: Requirements for the development, validation, and routine control of a sterilization process for medical devices
• AAMI TIR30: A compendium of processes, materials, test methods, and acceptance criteria for cleaning reusable medical devices
• AAMI TIR34: Water for the reprocessing of medical devices
• Reprocessing Medical Devices in Health Care Settings: Validation Methods and Labeling Guidance for Industry and Food and Drug Administration Staff
B. VALIDATION
The recommended cleaning and sterilization methods in this DFU have been validated in compliance with federal and international guidance/standards. In accordance with ISO 17665-1, the “overkill” approach was used for sterilization validation and demonstrates a sterility assurance level (SAL) of 10-6. Cleaning and sterilizing equipment and materials vary in performance characteristics; therefore, it is the responsibility of the facility/end user to perform the appropriate validation testing for any use beyond recommended performance characteristics. Critical water was utilized as the terminal rinse water quality to ensure that residuals will not interfere with subsequent processing steps and to prevent spotting or discoloration.
Repeated processing has minimal effect on these devices when processed as recommended within these instructions. End of service life is normally determined by wear and damage due to repeated use. The user assumes liability and is responsible for the use of a damaged and/or dirty device.
C. CAUTIONS
1. Arthrex does not recommend immersing the device in water or cleaning solution as it could potentially affect the reliability. If the customer wishes to do so, they knowingly accept liability and understand that the service life could be reduced (see ‘Cleaning’ section).
2. Alkaline cleaning solutions (pH > 10) are not recommended, as they can hasten the degradation of the coating and potentially affect the handpiece’s functionality (see ‘Cleaning’ section).
3. Do not clean devices with sonication, whether in an ultrasonic bath or an automated washer/disinfector with ultrasonic power.
4. To avoid damaging the handpiece, do not impact or subject the handpiece to blunt force. Rough handling of the handpiece may cause damage to the handpiece.
5. Do not use the Arthrex handpiece for any purpose other than its intended use. Failure to use this device in accordance with the directions for use below may result in device failure, render the device unsuitable for its intended use, or compromise the procedure.
6. Only use the APS II or SynergyResection™ consoles that have been developed by Arthrex specifically for the handpieces.
7. Do not attach the handpiece during APS II or SynergyResection console self-test or the Brightness or Language Selection Programming Modes. Refer to the console’s User’s Guide for more information.
8. To avoid damaging the shaver handpiece and disposables used with the shaver handpiece, do not subject the disposable to excessive force. Excessive force may render the disposable and/or shaver handpiece inoperable.
9. Irreversible damage to all devices will result if they are run without the flow of irrigation (dry).
10. Running the device without the flow of irrigation (dry) will cause the device to excessively heat and may cause a thermal burn.
D. WARNINGS
1. Caution: Federal law restricts this device to sale by or on the order of a physician.
2. This device is intended to be used by a trained medical professional.
3. Biohazard waste, such as explanted devices, needles, and contaminated surgical equipment, should be safely disposed of in accordance with the facility’s policy.
4. Serious incidents should be reported to Arthrex Inc., or an in-country representative, and to the health authority where the incident occurred.
E. CLEANING
Devices must be adequately cleaned and sterilized prior to use or re-use; this is also required before the first use after delivery of the non-sterile devices. Effective cleaning is an indispensable requirement for effective sterilization of the devices.
I. POINT-OF-USE PREPARATION, CONTAINMENT, AND TRANSPORTATION
It is recommended that devices are reprocessed within a maximum of 2 hours of use. At point of use, soiled devices must be removed from trays and moistened to prevent debris from drying before transportation to the reprocessing area for cleaning procedures. To maximize the life of the handpiece, avoid soaking devices in solutions; instead, apply low-linting cloths or towels dampened in water or neutral-pH detergent. Devices should be contained and transported in a closed, puncture-proof device to ensure safety. Do not clean soiled devices while in cases or trays.
II. DETERGENT SELECTION
Consider the following points during selection of the cleaning agent:
1. Compatibility of the cleaning agent with the devices. Arthrex recommends the use of neutral pH or enzymatic cleaning agents. Arthrex does not recommend the use of a specific brand of cleaning agent. Enzol® was utilized during the validation of these instructions.
2. Follow the instructions of the detergent manufacturer regarding use concentration and temperature. Use only freshly prepared cleaning solutions as well as critical (e.g. RO(reverse osmosis)/DI (deionized) or distilled) water for final rinse and filtered medical grade (instrument) air for drying.
III. PREPARATION FOR CLEANING
1. Ensure that the soaker cap is securely covering the connector end of thecable.
2. Open all suction pathways to enable maximum exposure. Devices are
equipped with a removable suction valve to facilitate cleaning (see graphics below):
a. Locate the opening in the suction valve component
b. Insert a small tool, e.g. a blunt wire, into the opening as shown
c. Push upwards to slide pin away from handpiece housing
d. Remove suction valve by pulling outwards
Note: The valve removal is only a recommendation (not required) when utilizing manual cleaning (see ‘Manual Cleaning’ below). The suction valve is required to be removed if utilizing machine (automated) cleaning per (see ‘Machine (Automated) Cleaning’ below). If the suction valve is not removed during manual cleaning, then it is recommended to set the valve to open by pushing the valve lever forward on the “+” sign prior to the preliminary cleaning steps within the ‘Preliminary Cleaning’ and kept in the open position for all stages of processing, including sterilization.
IV. PRELIMINARY CLEANING
1. Remove excess soil from devices, especially in areas such as joints and crevices, by cleaning the surfaces with a soft-bristled brush or with a non-shedding disposable wipe for a minimum of 1 minute.
2. Rinse the devices for at least 1 minute with utility water. Thoroughly rinse lumens, joints, crevices, and other hard-to-reach areas.
3. After the completion of preliminary cleaning, the end user has the option to perform either Manual Cleaning or Machine (Automated) Cleaning (preferred).
V. MANUAL CLEANING
1. After preliminary cleaning is complete, prepare a suitable detergent solution (reference “Detergent Selection” section).
2. Thoroughly scrub the device with a clean, soft-bristled brush that is dampened with the detergent solution until all visible soil has been removed.
3. Do not immerse the device in water or detergent solution.
4. To clean the cannulated section of the device:
a. Feed the wire end of a cleaning brush through the cannulation of the device.
b. Oscillate the brush back and forth from both the front and the rear of the device. Brush all sections of the cannulation.
c. It is recommended that the cannulation be inspected with an illuminated, magnifying scope to ensure that all debris is removed.
5. Manipulate all moving parts of the device to ensure that all visible soil is removed.
6. Keep the nose of the device pointed downward and rinse it under running critical (recommended) or utility water for a minimum of 2 minutes. Flush the cannulation thoroughly with water, keeping the nose pointed down during the flushing operation.
Note: If using utility water for rinsing, flush all surfaces with critical water to prevent metal discoloration.
7. Check devices for visible soil. Repeat cleaning if soil is visible and re-inspect.
8. After flushing operation is complete, it is recommended that forced air be used through all channels to remove water droplets.
9. Gently shake the equipment free of water and wipe the surfaces with a clean, low-linting towel.
10. Proceed to the Inspection and Maintenance section below.
VI. MACHINE (AUTOMATED) CLEANING
Considerations for the selection of the washer-disinfector:
• Fundamentally approved efficiency of the washer-disinfector (e.g. CE marking according to ISO 15883 or FDA approval/clearance/registration).
• Final rinse completed with critical (e.g. RO (reverse osmosis) or DI (deionized)) water and utilizes only filtered air for drying.
Cleaning Procedure:
1. After preliminary cleaning is complete, load the devices in the washer-disinfector such that all design features of the device are accessible to cleaning and such that design features that might retain liquid can drain (e.g. hinges should be open, and cannulations/holes positioned to drain).
2. Connect the suction fitting of the device to the rinsing port(s) of the washer-disinfector.
The following minimum recommended wash cycle parameters were utilized by Arthrex during the validation of these instructions.
3. Remove the devices from the washer-disinfector following the completion of the program and check devices for visible soil. Repeat cleaning if soil is visible and re-inspect; otherwise, proceed to the Inspection and Maintenance section below.
F. INSPECTION AND MAINTENANCE
1. Arthrex devices are precision medical instruments and must be used with care.
2. If the suction valve was removed for cannulation and valve cleaning, be sure to reinsert the suction valve by sliding it into position until an audible click is heard. It is recommended to set the valve to open by pushing the valve lever forward on the “+” sign prior to sterilization.
3. Inspect the device for damage prior to use and at all stages of handling thereafter. When inspecting, please keep the following in mind:
• The useful life of this equipment is dependent on many factors, including, but not limited to, the method and duration of each use and the handling of equipment between uses.
• Fading of the coating does not signify a reduction in quality.
• Performing a process verification is recommended with regard to the suitability of the cleaning agents and temperatures used.
• A functional test can be performed quickly by activating the device, whereby it is important to pay attention to the following: o Irregular running noises o Excessive heating o Strong vibrations
• This device may have reached end of life if there is evidence of damage and excessive wear. This may include, but is not limited to, breach of integrity, rust or corrosion, missing or broken components, improper function, non-responsive, unrecognizable markings, critical error code seen on console, and/or any abnormal vibrations, sounds or temperature noticed.
Note: If any of these malfunctions are observed, the device must not be used any further and must be returned to Arthrex for inspection and repair.
4. To protect devices from staining and rusting, lubricate all moving parts prior to packaging and sterilization with an instrument lubricant with given compatibility with steam sterilization up to 138 °C (280 °F) and given biocompatibility after sterilization. Apply lubricants in accordance with manufacturer’s instructions. Cleaning and lubrication of the proprietary suction regulator is optional but should be done if the regulator is sticking.
G. STERILIZATION
I. STERILE PACKAGING
Singly: Single devices should be packed as to ensure that the pack is large enough to contain the device without stressing the seals. Packaging should be completed utilizing a pouch or wrap which conforms to the recommended specifications for steam sterilization as outlined below. If a wrap is utilized, it should be completed following AAMI double-wrap or equivalent guidelines with an appropriate wrap (cleared by the FDA or the local governing body).
Sets: Where appropriate, cleaned, disinfected and inspected devices should be placed into trays/cases as provided or in general-purpose sterilization trays. The total weight of trays/cases should not exceed 11.4 kg/25 lbs. (other local limits below 11.4 kg/25 lbs. may apply). Trays/cases should be double wrapped following AAMI or equivalent guidelines with an appropriate wrap (cleared by the FDA or the local governing body).
II. STEAM STERILIZATION
Local or national specifications should be followed where steam sterilization requirements are stricter or more conservative than those listed in the table below; therefore, follow your country specific guidelines, standards, and requirements. Sterilizers vary in design and performance characteristics. Cycle parameters and the load configuration should always be verified against the sterilizer manufacturer’s instructions.
1 Drying times vary according to load size and should be increased for larger loads.
2 Cooling times vary according to the sterilizer used, device design, temperature and humidity of ambient environment, and type of packaging used. Cooling process should comply with ANSI/AAMI ST79.
3 For markets outside of the US, the cycle parameters listed for exposure time and temperature can be considered as minimum values.
NOTE: The device must be allowed to cool to room temperature prior to use.
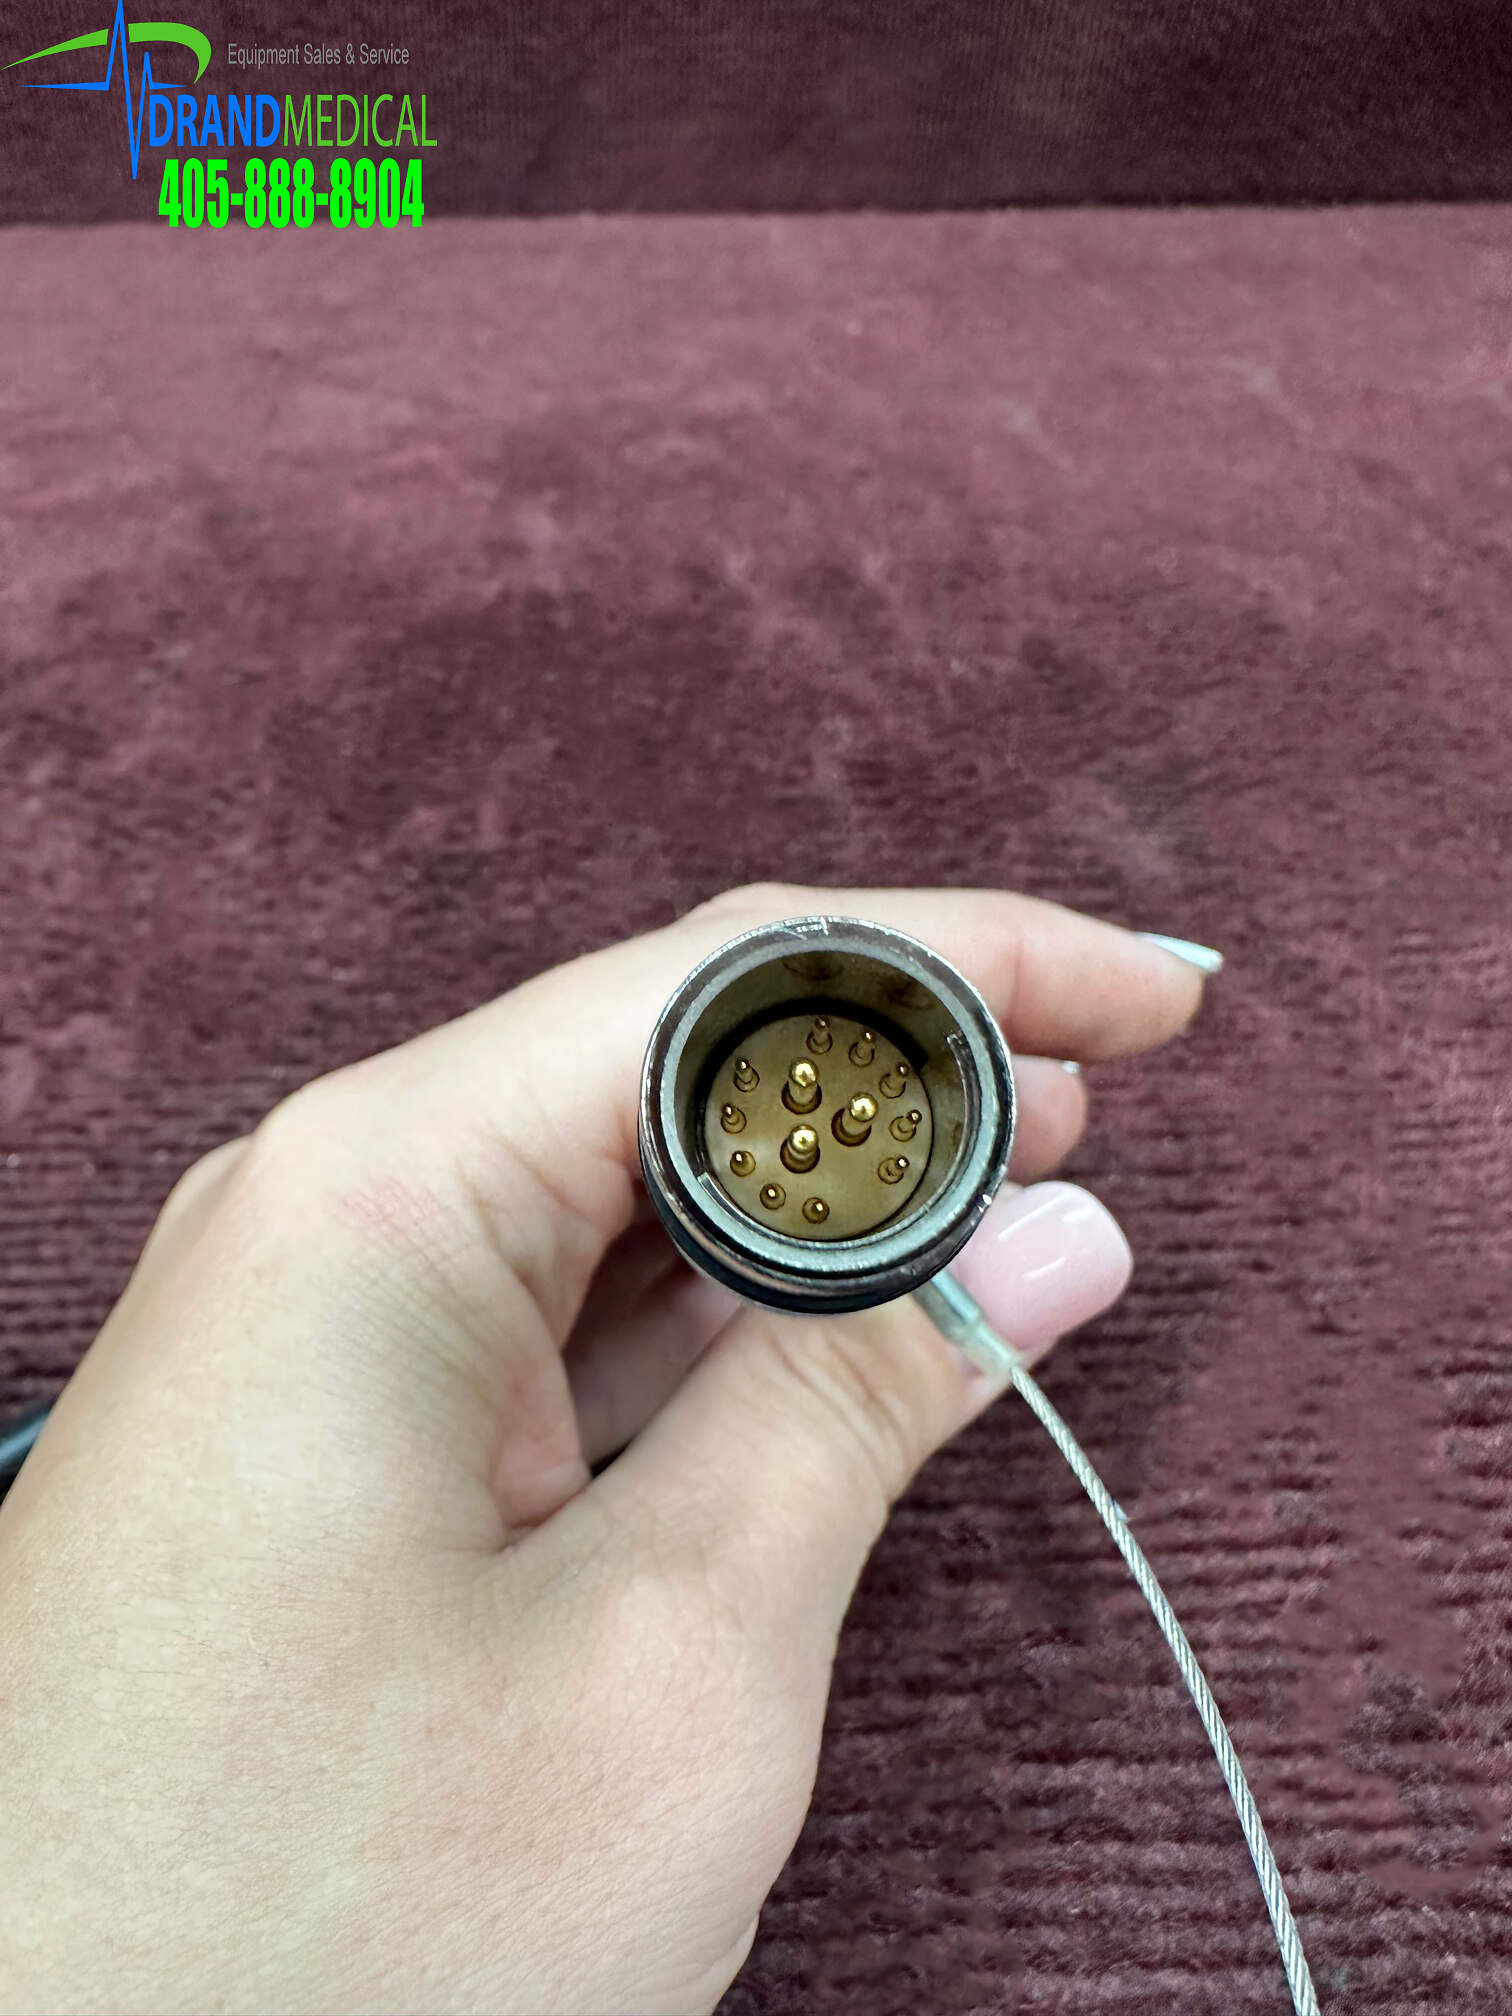
CAUTION: NEVER allow the APS II or SynergyResection console plug pins to have any contact with liquids. Ensure that the connector cap is secured before sterilization. Remove dust or moisture, if necessary, with dry compressed air. ONLY dry connectors may be plugged into the APS II and SynergyResection consoles.
CAUTION: NEVER immerse the device in liquid to cool, as this can damage the cable, handpiece, connectors, and/or seals.
III. SPECIAL PRECAUTION – TRANSMISSIBLE SPONGIFORM ENCEPHALOPATHY AGENTS
It is outside the scope of this document to describe in detail the precautions that should be taken for Transmissible Spongiform Encephalopathy (TSE) Agents. The agents for transmission of Creutzfeldt-Jakob disease (CJD) are believed to be resistant to normal processes of disinfection and sterilization and therefore the normal processing methods of decontamination and sterilization as described above may not be appropriate where CJD transmission is a risk. In general, the tissues that come into contact with orthopedic surgical instruments are those of low TSE infectivity. However, particular precautions should be taken when handling instruments that have been used on known, suspected, or at-risk patients. Refer to ANSI/AAMI ST79 for further information.
H. PACKAGING AND LABELING
1. Arthrex devices should be accepted only if the factory packaging and labeling arrive intact.
2. Contact Customer Service at +1 800 934-4404 if the package has been opened, altered or damaged.
I. STORAGE
Non-sterile devices should be stored in a clean, dry environment. The shelf life of non-sterile devices is not limited; the devices are manufactured from non-degradable material, which does not raise any question of device stability when stored under recommended conditions. It is the responsibility of the end-user to ensure devices, once sterilized, are stored in such a way as to maintain the sterility of the device until use. Sterile, packaged devices should be stored in a designated, limited access area that is well ventilated and provides protection from dust, moisture, insects, and temperature/humidity extremes. Sterile device packages should be carefully examined prior to opening to ensure that package integrity has not been compromised. Maintenance of sterile package integrity is generally event related. If a sterile wrap is torn, shows any evidence of tampering, or has been exposed to moisture, the device or set must be cleaned, repackaged, and sterilized.
J. DIRECTIONS FOR USE
Users of this device are encouraged to contact their Arthrex representatives if, in their professional judgment, they require a more comprehensive surgical technique.
I. Foot Control Option
Note: SynergyResection handpiece SJ (Small Joint) requires software version 2.4 or higher on the SynergyResection console. The SynergyResection handpiece SJ accepts NanoResection™ and small joint shaver blades and burrs.
Note: Shaver handpieces without hand controls require a foot control to operate.
Insert the connector from the handpiece into the handpiece receptacle of the console so that the red dots on the connector and receptacle align and engage easily.
The shaver handpiece cable connects and locks to the console to prevent accidental separation during use. To avoid damage, only disconnect the shaver handpiece by pulling on the cable connector collet.
The console will recognize the handpiece type, and display available options for the operator to adjust, as desired.
The sterile suction hose is pushed onto the suction connection.
Adjust the flow volume with the suction control.
a. Move the suction control switch to the “+” on the handpiece body (fully opened) to obtain the maximum flow volume.
b. Move the suction control switch to the “-“ on the handpiece body (fully closed) to stop flow.
c. The suction can be adjusted between the above settings to achieve appropriate level.
To insert an attachment, fully insert the hub into the hub bore of the handpiece. Watch the locking pin slide back and forth to check that it is locked in place. There will be an audible “click” sound when the handpiece is securely locked.
The locking pin of the shaver handpiece is compatible with all multi-use and disposable Arthrex attachments.
To remove a shaver blade or burr, slide the exposed locking pin to the opposite side and remove the blade
Use the RPM (rotations per minute) selection button on the front panel of the console or the footswitch to adjust the speed of the handpiece. The shaver handpiece supports speeds from 500 rpm to 8,000 rpm, depending on the direction of operation. Refer to the console’s User’s Guide for more details.
The Reverse, Forward, and Oscillate buttons on the console and the correlating pedals or pads on the footswitch can be used to select which direction the shaver handpiece motor rotates. Refer to the Synergy Resection User’s Guide for more information.
