Description
Intended use
This light source has been designed to be used with Olympus endoscopes, and ancillary equipment for observation, diagnosis, endoscopic treatment and recording of image data.Do not use this light source for any purpose other than its intended use
Instruction manual
This instruction manual contains essential information on using this light source safely and effectively. Before use, thoroughly review this manual and the manuals of all equipment which will be used during the procedure and use the equipment as instructed.
Keep this and all related instruction manuals in a safe, accessible location. If you have any questions or comments about any information in this manual, please contact Olympus.
Terms used in this manual
-
OES video converter, OES video system:
The OES video converter and OES video system are devices that convert endoscope images from a fiberscope into monitor images.
-
EVIS video system center:
The EVIS video system center is a device that converts signals from a videoscope or OES video converter into monitor images.
-
Mobile workstation:
The mobile workstation is a special trolley on which this light source is placed and used for endoscopic diagnosis and treatment.
User qualifications
The operator of this light source must be a physician or medical personnel under the supervision of a physician and must have received sufficient training in clinical endoscopic technique. This manual, therefore, does not explain or discuss clinical endoscopic procedures.
Chapter 2 Light Source Nomenclature
1. Power switch
Pressing the power switch in until its stops turns the light source ON. When
the power is ON, the power indicator above the power switch is lit. To turn
the light source OFF, press the power switch once again.
2. Power indicator
The power indicator is lit when the power is ON.
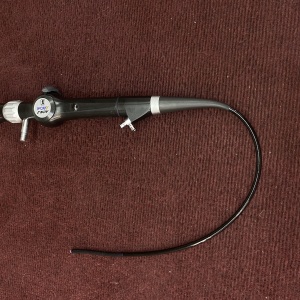
3. Output socket
This socket provides light, electrical signals and air to the endoscope.
4. Filter switch
When a special-purpose filter is installed, pressing this switch changes
between normal observation mode and filter mode.
5. Transillumination switch
When pressing this switch, light emitted from the endoscope’s distal end
becomes brighter for 7 seconds, then returns automatically to its original
brightness level.
6. Airflow regulator switches
With these switches, the pressure of the air being fed from the endoscope
can be controlled.
7. Airflow indicators
These indicators display the current airflow regulator setting (“L”, “M”, or “H”)
when the airflow regulator “ON” switch is pressed.
8. Emergency lamp indicator
This indicator is lit when the emergency lamp (halogen) is in use, and
blinking when emergency lamp (halogen) is disconnected or not mounted.
9. Brightness adjustment switches
These switches are pressed to adjust the brightness level.
10. Brightness level indicators
These indicators display the current brightness level.
11. Auto/manual brightness selector
This selector is pressed to select automatic or manual brightness control.
12. Auto/manual indicator
This indicator displays the brightness selector setting (“auto” or “manual”).
13. Lamp ignition switch
This switch is pressed to turn ON the examination (xenon) lamp.
14. Lamp life indicator
This indicator displays the total working hours of the examination (xenon)
lamp.
15. Reset switch
After replacing the examination (xenon) lamp, the lamp life indicator is reset
by pressing this switch for more than 3 seconds.
1. Light control connector
This connector is receptacle for the light control cable to connect the light
source to the EVIS EXERA video system center or the EVIS video system
center.
2. AUX connector
This connector is receptacle for the light control cable to connect the light
source to the OES video system.
3. Fuse holders
The fuses are mounted here.
4. Water container holder
This holder is used for the installation of the water container.
5. Potential equalization terminal
For safety purposes, this terminal is connected to a potential equalization
busbar of the electrical installation.
6. Lamp cover
This cover is removed to replace the examination lamp and a
special-purpose filter.
7. Filter disk
This disk is hold a special-purpose filter when necessary.